Friday, June 17, 2011

Evolution of a Design (part 6): Converting Colorwork to Texture

After my yarn arrived (so pretty, so soft, so all-around lovely), I started thinking about my decision to only offer this pattern in one version. I wavered. I hemmed. I hawed. I just wasn't sure it was the right choice. After all,
  1. 61% of the Ravelry project pages attached to Among the Bamboo are not the intarsia version;
  2. when I sought out testers for the soon-to-be-released monkey blanket pattern, I received more interest from knitters wanting to knit the solid color option; and 
  3. I really do like the idea of providing an option that is suitable for a beginning knitter.
You see where I'm going with this, right?

I'm not generally one whose mind is easily changed, but I am pretty good at convincing myself of things. This was one of those times - of course I could make this a two-for-one pattern. There's no question that takes more work (essentially writing out/editing two patterns, knitting up two samples, etc.). But the charting's not so different.

Or so I thought...

It turns out that going from the solid-color version to colorwork is actually easier than going the other way. Well, maybe "easier" isn't the word for it, but this reverse (for lack of a better word) process did require my brain to work in a different way.

For each of my two previous patterns, I started with a chart I'd created for a textured blanket and colored it. Because the design had started out as a series of knits and purls, it was a simple matter of adding some color -- mostly with the theme of "make sure all the knits that touch each other are the same color and all the the purls that touch each other are the same color."

The main motifs in my textured patterns are created using stockinette and reverse stockinette stitches, so designing the image is akin to drawing in black and white. (Or in any two colors.) There's no shading and no outlining. If the design can't be clearly defined in two colors, then it doesn't work. It's easy enough to add colors in, but I discovered that I needed to retrain my brain to go from several colors down to just two. As I write this, it doesn't seem so difficult, but while I was in the midst of it all, it really did take careful thought to consider which pieces of the puzzle would be which "color."
It's a matter of going from this
to this.
These two baby snails are exactly the same size and shape. Nothing has changed, save the coloring. Maybe it's different for you, but to me? These two snails look totally different. And yet, they are exactly the same, save the coloring. I suspect that if I had started with the solid-color version in mind, I might have made different choices.

On a different note, this was the exercise that convinced me the swirl on the color version shouldn't be knit using intarsia but should, instead, be part of the finishing. Duplicate stitching will help set off that swirl pretty well, I think.

Up next? Considering gauge and weight of the fabric...

Wednesday, June 15, 2011

Evolution of a Design (part 5): Response to Submission

To make this long story a bit shorter, they said "no thanks."  But that's not all. What they really said was "no thanks, but we'd like to provide yarn support for your beautiful blanket," provided I was planning to self-publish. Yarn support! So I would be able to touch this yarn and see it knit up into this cute-but-not-cutesy baby blanket. To say I was thrilled is an understatement.

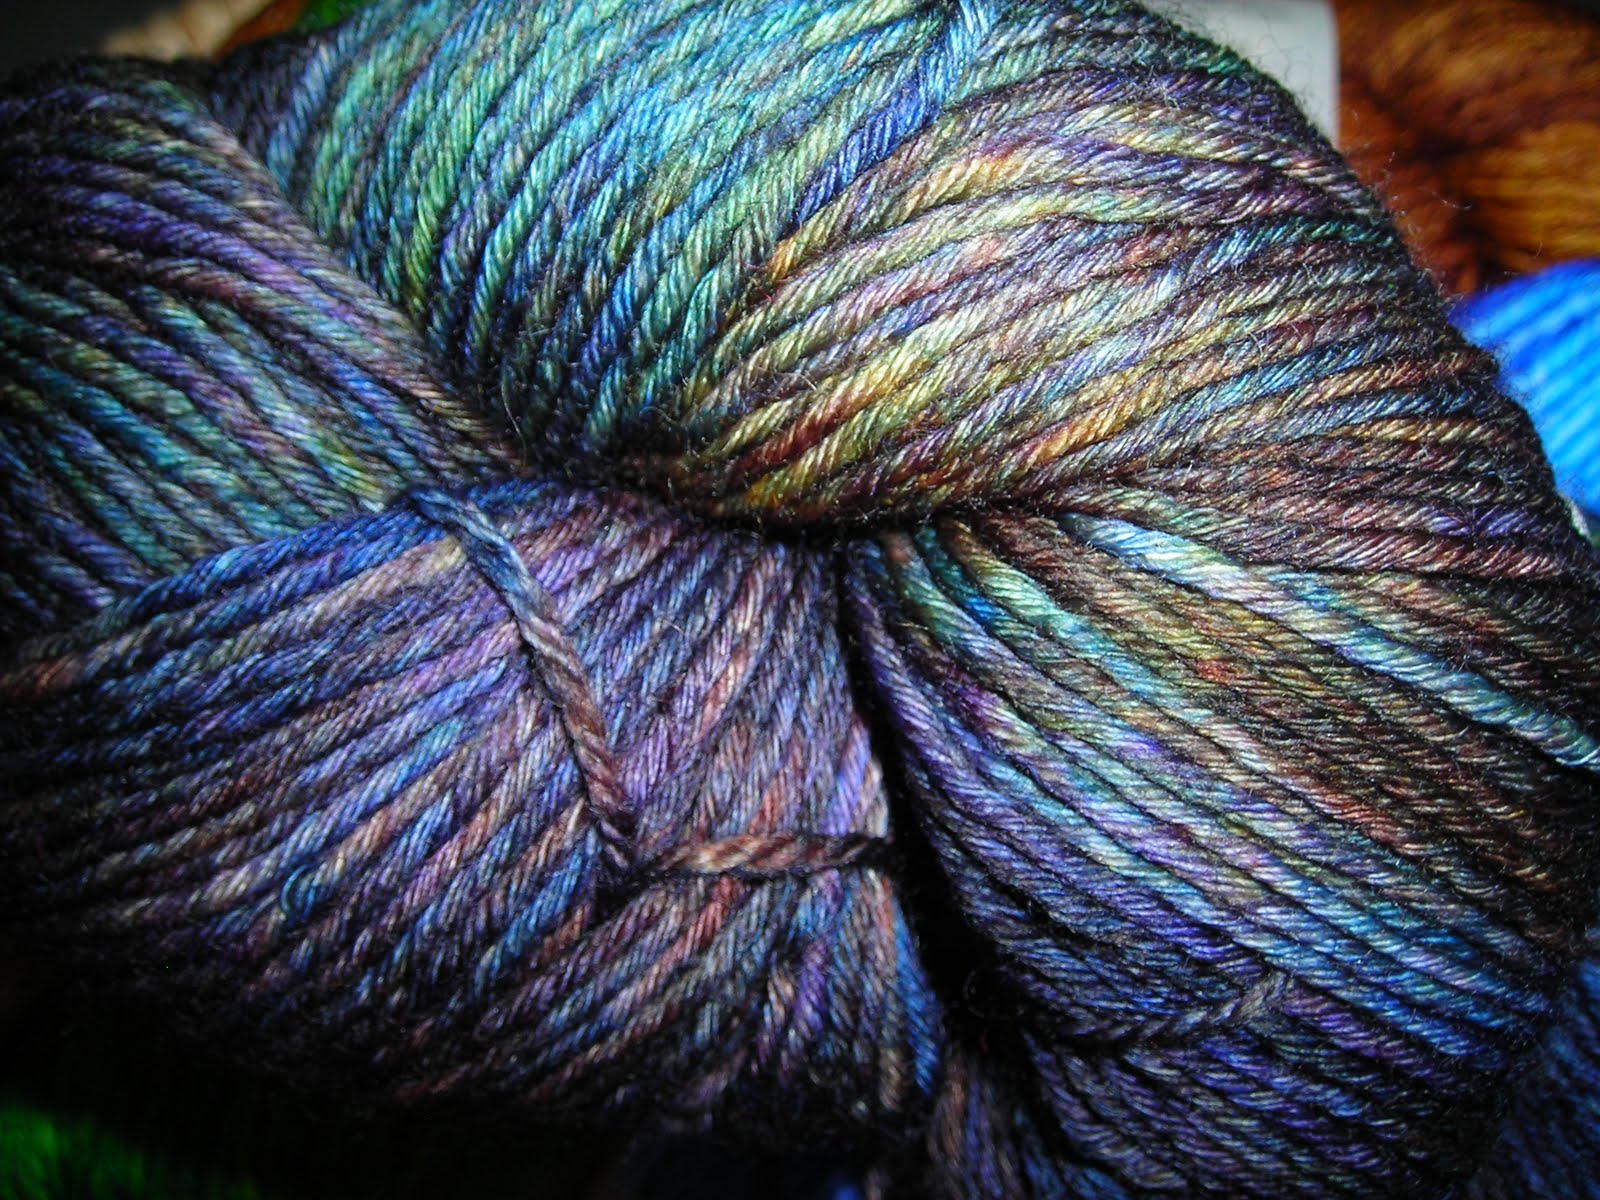
The yarn arrived, and I've just begun preparing it for knitting. I'm still working on another project, and I haven't quite finished writing up the instructions for this one, so it'll be a bit before the knitting is truly underway. Still, check out the gorgeous yarns I get to play with. This is the DK Everlasting.  Beautiful, soft, and washable!


And now for the close-ups.
How perfect is this for the snail shells? Colorway: Tidewater


Also Tidewater, all balled up. Pretty, isn't it?

Colorway: Gilt. This will be the border and the snails' bodies.

Colorway: Tart looks much different on my screen than it does in person.
It's a gorgeous green, not quite so electric as I see it here,
but also not totally subdued. (It'll be the grass.)


And the perfect name for sky ... Colorway: Heavenly
Up next? Rethinking the intarsia-only option...

Monday, June 13, 2011

Evolution of a Design (part 4): Selecting the Yarn

For better or worse, my yarn decisions for a particular design often depend on how I plan (or hope) to publish a pattern. For example, if I'm thinking that it might be a good bet for the Knit Picks IDP, then I'll plan to use KP yarns. In another case, I submitted a design for a book and they were looking for patterns to be knit in locally spun or dyed yarns (with an emphasis on "local" being in the vicinity of the designer).

For the snail blanket, I didn't yet have a solid plan formulated when I saw a call for submissions from Dream in Color Yarn.  They were seeking baby sweater/blanket combos but were willing to consider just blankets or just sweaters.  I've worked with DIC Smooshy before and liked it a whole lot, but I'd never worked with the yarns they were hoping to highlight (Everlasting DK and Smooshy with Cashmere).  I'd be lying if I said I didn't want to get my hands on some!

So I looked through the colors, decided their yarn could really soar in this snail pattern, and I put together a proposal:

Despite poor rendering of the colors here, this one page proposal told the story ...
and gives you a preview of the design, too!

Next up? Their response...

Sunday, June 12, 2011

Free Pattern: Nook Cozy

 About seven months ago, I took a new job in an office downtown. Driving downtown is a pain, parking costs are painful, and my employer heavily subsidizes public transit fares. So it wasn't a hard decision to become a bus commuter. In fact, there was no question, really. I decided, though, that I probably deserved to get myself a "welcome to my new job" gift and picked a nook - after all, I was now going to have lots more reading time.
I was a little worried about scratching the screen, so I set to work knitting up a case. Which I love. So here, I'm sharing the pattern with you. If you have a Kindle or other e-reader, we can debate the merits later ... for now, know that this pattern is easy enough to adapt to fit any size you need!

Nook Cozy, by Adrienne Enriquez

FINISHED MEASUREMENTS
6” x 8” (15.5 x 20.5cm)
MATERIALS AND NOTIONS
50gr/100 yds worsted weight yarn
(shown in Knit One Crochet Too, The Gourmet Collection, colorway Parfait Swirls)
One pair US Size 7 (4.5mm) needles
Size E (3.5mm) crochet hook
Small tab of hook-and-loop tape
Sewing needle& thread
2 decorative buttons
GAUGE
20sts and 40 rows = 4” in woven stitch
TECHNIQUES USED
Knit, purl, woven stitch (alternately called linen stitch), and single crochet

Pattern Notes: You may make your cozy bigger or smaller with a few easy modifications. To change the width, cast on fewer or more stitches but always an odd number. To alter the length, work as many repeats of Rows 1-14 as needed until your pieces is the desired size, then work Rows 11-14 once more before repeating and moving on to the Closure Tab.

Abbreviations:
sl - slip
RS - right side of work
WS - wrong side of work
wyib - with yarn in back
wyif - with yarn in front 
Woven stitch pattern:
RS: *K1, wyif sl1 as if to purl; repeat from * to last st, k1.
WS: P1, *p1, wyib sl1; repeat from *to last 2 sts, p2.                                                                    
Cast on 29 stitches.

Main Body of Cozy
Row 1-10: Work in Woven Stitch Patt, beginning with RS row.
Rows 11 and 13: Knit across.
Rows 12 and 14: Purl across.
Work Rows 1-14 four more times, then Rows 11-14 once more.

Repeat all rows within the Main Body once then proceed to Closure Tab.

Closure Tab
Row 1 (RS): Work in RS of woven stitch patt.
Row 2: P2tog, work in WS of woven stitch patt to last 2sts, p2tog.
Row 3: K2, work in RS of woven stitch patt to last 2 sts, k2.
Row 4: P2tog, p1, work in woven stitch patt to last 3 sts, p1, p2tog.
Repeat Rows 1-4.
Next Row: P2tog, work in woven stitch patt to last 2 sts, p2tog.
Bind off.

With wrong sides together, fold widthwise so that the fold line falls in the middle of the first section of 8 rows of stockinette.  Starting at the fold, single crochet through both layers across one edge.  Continue single crocheting around the flap.  When you reach the double layer again, single crochet the two layers together along the last edge.  Weave in ends and block if needed.

Block as needed.

Sew hook-and-loop tape on the inside of the flap for closure.  If desired, sew a button (or two) on the front of the flap for decoration.

Saturday, June 11, 2011

Design Inspiration from the Internet

Okay, so maybe I was wrong the other day - maybe I really will be sharing some of these more whimsical things. But only when it makes sense. Only when it has some relevance to my designing/knitting. Only when it will give more insight into how my "design mind" works. If I see something that gives me an idea, and if I feel that idea simply can't be kept to myself, then I'll share it here.

Like this.

Airigami: The Fine Art of Balloon Sculpture by Larry Moss.

For those who'd rather not read the whole post I did, this short video gives a glimpse into what I saw and am now going crazy about:


First of all, I think this is kind of neat. I'm a teeny-tiny bit enthralled by the ideas
a) that someone would have the patience to put something like this together. And then I think about how much time knitting takes and I realize that knitting requires patience, too. So really, it's that
b) someone would create art that can't possibly have a shelf-life of more than a few days. Tops. Amazing!

Still, as I was admiring the work and marveling at the willingness of the artist, the thing that was really foremost in my mind was ...

"Huh. I wonder if I have the skill to design a knit object that mimics some of the great art of the world? Or maybe some of my favorite photographs?"

And now I've got even more design ideas bungling around my head. Which just makes me wonder if I'll ever have the time to knit the sweater I've been promising to myself for over a year?

Evolution of a Design (part 3): Beginner Texture or Intermediate Colorwork?

In each of my two previous baby afghans, I started out thinking of the design as a textured piece all knit in one solid color. I added the colorwork option after developing the initial idea. In fact, for Among the Bamboo I hadn't even thought about making it multicolored because I'd only tried intarsia once before, on a placemat that was felted, so it didn't matter quite as much how neat the back of the piece was.


 (Total side note: if you think you might like to try intarsia but are a little bit scared, I recommend the project I first tried. The pattern for Swirl Placemats is available in Felt It! by Maggie Pace. In addition to having this project, the book is a really good introduction to felting. And to show you how well they turn out even for the most novice colorwork knitter, here's a photo of mine, circa 2007. Sorry about the cut-off edges. I'm still not an expert photographer, but I'm willing to admit that's a pretty bad one!)

Ahem. And now back to our regularly scheduled program...

It was a tester who asked if she could try the panda blanket in color, and I figured I had nothing to lose so I said sure. And it was gorgeous! I fell in love almost immediately and knew I'd just have to suck it up, overcome my fear, and make a sample of my own. It was brilliant of her, really - the pattern had quickly become accessible to a wider range of knitters. In fact, it was almost like it was two patterns in one. What a deal! And who doesn't like a good deal?

When I started with the monkey design, I had a notion that it could be viable as a two-in-one pattern, but I hadn't fully committed to it. I designed the chart at the request of a tester who liked the textured option, and I didn't know that I'd take it any further than providing her with the Excel file.

The snail blanket is exactly the opposite. My mind's eye was showing me this blanket in color from the very beginning. As a result, it was color (not the telltale "•" used to designate "purl on WS/knit on RS" in knitting patterns) that I was using to create the actual chart on the computer.

As I looked at the picture forming in front of me, I realized that I needed to add some texture to this pattern. A sea of green stockinette stitch might work for the grass, but it would be terribly boring to knit. And clouds could be done in a different color than the background sky, but that just adds one more color of yarn and (more distastefully) a whole lot more ends to weave in. So I needed some texture in the grass, and the clouds could be done in relief, just like the panda and monkey of previous designs.

I started feeling kind of proud of myself - I'd now come up with a design that combined the two types of blankets I'd been making for a while. I was fairly certain that this one could stand alone as a colorwork-only pattern. And that left just the business of thinking about what colors I wanted to use!


Next up? Choosing colors...

Thursday, June 9, 2011

Yarn on the Internet

I don't think I'll regularly post such things, but ... maybe this time it will give some insight into my thought process. As I watched this video, all I could think about was how unrealistic it seemed.  Watch. And tell me you don't have the same reaction:


Not because a ball of yarn obviously can't traverse the streets of Chicago on its own. No. It's unrealistic because that WHITE ball of yarn stayed clean and WHITE all the way until it hit the dye pot.

Of course, when it came out of the dye pot, all I could think was how that would be the perfect colorway for one of the designs bungling around in my head! So, you know. These designs are just all around me.